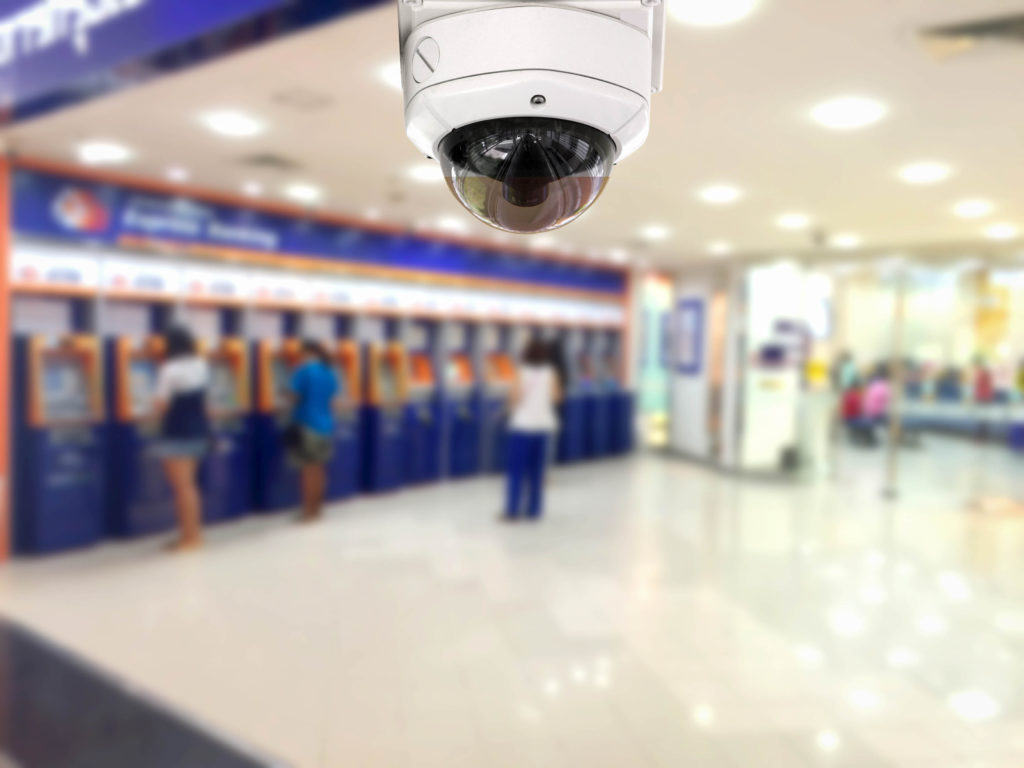
Alibi NVRs are packed with great features, but our retail customers are especially happy with the Point of Sale integration that helps them reduce shrinkage caused by employee theft. By combining POS transaction data with video, there is an additional audit trail to help investigate fraudulent transactions and theft incidents. Key features include:
Transactional data that appears as text overlay on high resolution video
Easy and efficient keyword search that locates corresponding video and transactional evidence
Universal TCP/IP POS driver compatible with most PC-based cash registers
Should you need to use the POS feature on your Alibi NVR, here’s a step-by-step instructional video that shows you how to integrate your PC-based register with an Alibi recorder. Although this demonstration will focus on a pcAmerica cash register, Alibi’s POS driver is universal. It was designed to be used with any PC-based register that’s capable of sending out ASCII strings over TCP connection to a port on your LAN.
Here are a few highlights from the video:
Recording
You can set the camera to record continuously, on motion or alarm events – it will still show POS data when it occurs.
To set up the POS system to match your specifications, you can go to POS configuration in the pcAmerica interface and select the options you need for connection type, character encoding, overlay mode, font size, overlay time, and more. Though the configurations shown here are for pcAmerica systems, you can follow the settings recommended by the user manual in your POS system.
Testing
You can test if your configuration works when you click the “Get Text” button at the bottom of the menu and enter some sales entries on your POS terminal. Messages should appear in the frames above, on your screen. Click “Stop Getting” to end the testing once it’s successfully configured.
Playback
To play back the recording of a specific POS event, right click on the live view display and click on “Menu.” From the menu window click the “Playback” icon.
From there, select “Event”.
At that point, you want to turn your focus to the upper right hand corner of the screen. Open the “Major Type” dropdown list and select “POS.” Select the camera overlaid with cross data, the start time and end time range for when the transaction occurred, and finally click “Search.”
A list of POS clips matching your search criteria will be displayed.
In addition…
You can perform a keyword search of POS data to find when the sale of a particular product occurred and play back the video.
The tutorial also shows how to export videos to flash media.
As you can see, the POS functions on the Alibi recorder are rather robust. When fully utilized, these functions can help reduce theft and ultimately protect your business’ bottom line.


About The Author: Supercircuits Team
More posts by Supercircuits Team